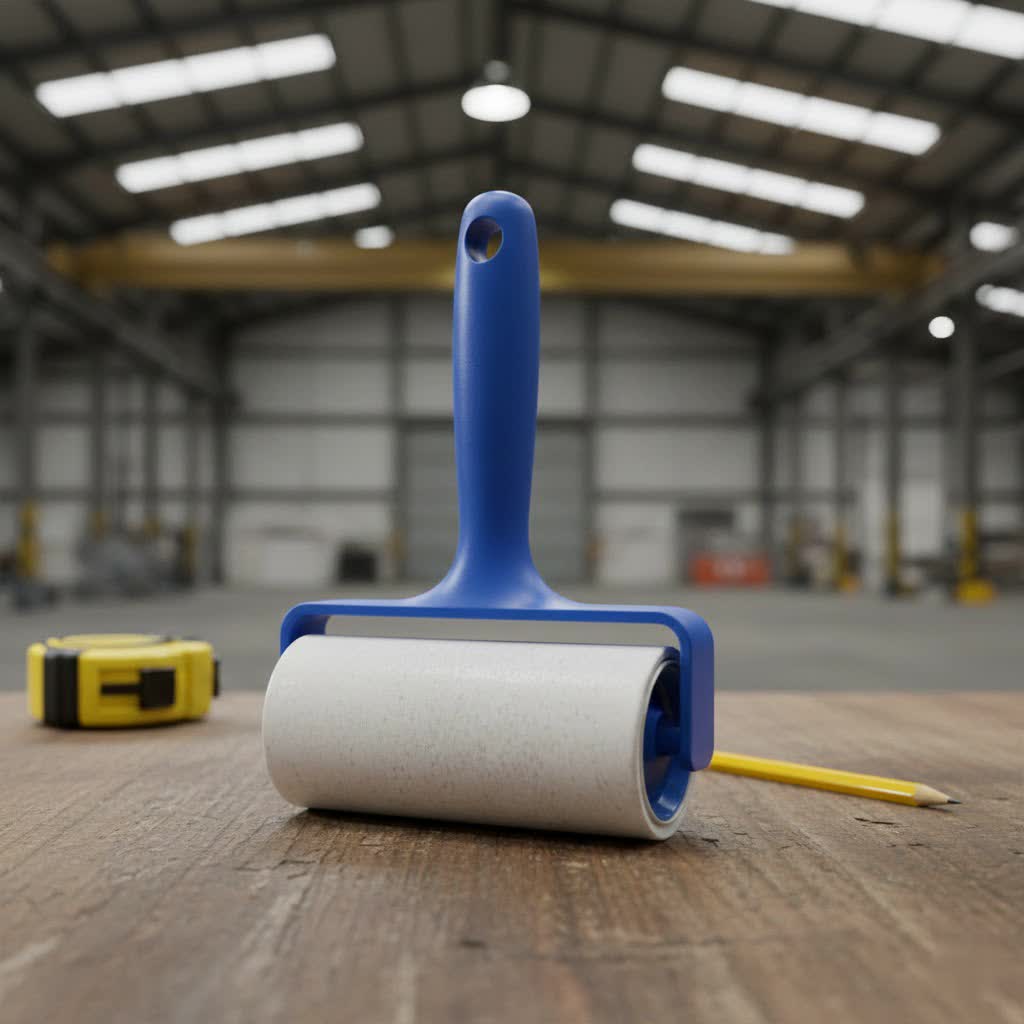
As someone who has dedicated over a decade to understanding and evaluating cleaning and fabric care products, I know the frustration of finding lint, pet hair, or fuzz clinging to your clothes right before you head out the door. While commercial lint rollers are convenient, sometimes you simply don’t have one on hand, or you’re looking for a quick, cost-effective, and resourceful solution. The good news is, creating your own effective lint roller is surprisingly easy, using items you likely already have around your home.
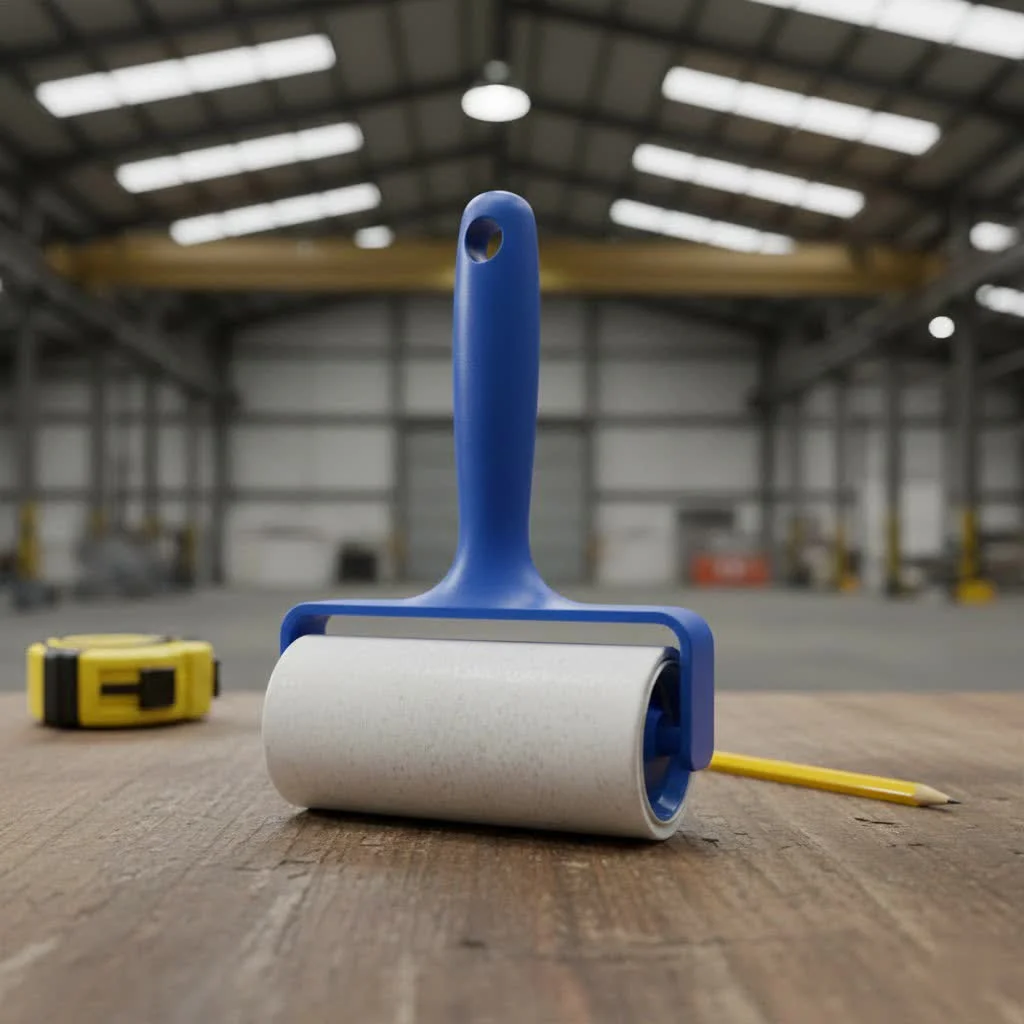
This guide will walk you through simple, effective methods to banish unwanted debris, ensuring your garments and upholstery always look their best. For shop curated reviews on this site.
Why Craft Your Own Lint Roller?
The appeal of a DIY lint roller extends beyond mere convenience. It’s a testament to resourcefulness, saving you a trip to the store and often a few dollars. Whether you’ve run out of refills, misplaced your store-bought roller, or simply prefer sustainable solutions, homemade alternatives offer an immediate and efficient fix. They’re perfect for emergency touch-ups, tackling pet hair on furniture, or maintaining a pristine wardrobe with everyday items.
The Instant Fix: Hand-Wrapped Tape Method
When time is of the essence and you need a quick lint removal solution, your hand and a roll of tape are all you need. This method is incredibly simple and surprisingly effective for small areas or quick touch-ups.
What You’ll Need:
- Any adhesive tape: Scotch tape, masking tape, painter’s tape, or even packing tape will work. Wide rolls are generally more efficient.
Instructions:
- Prepare Your Hand: Keep your fingers held together tightly.
- Wrap the Tape: Take a length of tape and wrap it around your hand, ensuring the sticky side faces outwards. You can secure the starting end by sticking it to itself on the back of your hand.
- Roll Away Lint: Gently pat or roll your tape-wrapped hand over the lint-covered fabric. The sticky surface will pick up lint, dust, and pet hair.
- Refresh as Needed: As the tape becomes covered with debris, simply peel off the used section or re-wrap with a fresh sticky surface.
Constructing a Handle-Based DIY Lint Roller
For larger areas or a more ergonomic experience, creating a lint roller with a handle provides better control and coverage. This method mimics a traditional lint roller, using common household cylindrical objects as a base.
What You’ll Need:
- A Cylindrical Object: An empty paper towel roll, a toilet paper tube, a thick wooden dowel, an empty water bottle, or even a paint roller handle are excellent choices. The object should be sturdy enough to handle light pressure.
- Adhesive Tape: Masking tape, painter’s tape, or duct tape (use with caution, see tips below).
- Optional: Scissors (if your tape doesn’t have a built-in cutter), double-sided tape (to secure the initial wrap).
Instructions:
- Choose Your Base: Select a cylindrical object that’s comfortable to hold and roll.
- Prepare the Tape: Pull out a section of your chosen tape.
- Attach the Tape (Sticky Side In): Secure one end of the tape to your cylindrical object, sticky side down (touching the cylinder). If using double-sided tape, you can use a small piece to anchor the beginning of your main tape.
- Wrap Sticky Side Out: Begin wrapping the tape around the cylinder so that the sticky side faces outwards. Overlap each pass slightly to ensure full coverage and no gaps.
- Secure the End: Once the entire cylinder is covered with sticky tape, secure the final end by sticking it down firmly.
- Start Rolling: Roll your homemade lint roller across your clothes, upholstery, or other fabrics to pick up lint.
- Replace When Full: When the tape loses its stickiness, simply unwrap the used layer and apply a fresh layer of tape.
Tips for Best Results and What to Watch Out For
|
Our Picks for the Best Lint Roller in 2026
As an Amazon Associate I earn from qualifying purchases.
|
||
| Num | Product | Action |
|---|---|---|
| 1 | PetLovers Extra Sticky Lint Roller Mega Value Set 900 Sheets for Pet Hair Removal and Clothes, Dog and Cat Lint Remover, 10 Pack |

|
| 2 | Lint Rollers for Pet Hair, Sticky, Remover for Couch, Clothes Furniture and Carpet. Dog Hair Remover Cat Hair, Animal Fur, Fuzz. 5 Large Lint Rollers |
|
| 3 | Extra Sticky Lint Roller, Mega Value Set 400 Sheets for Pet Hair Removal, Dog and Cat Lint Remover for Clothes, Furniture, Carpet |
|
| 4 | MEIQIHOME Lint Rollers for Pet Hair Extra Sticky, 1110 Sheets Mega Value Set Lint Roller with 5 Upgraded Handles, 10 Rollers Portable Pet Lint Roller for Clothes, Furniture, Dog & Cat Hair Removal |
|
| 5 | PetLovers Extra Sticky Lint Roller Mega Value Set 720 Sheets for Pet Hair Removal and Clothes, Dog and Cat Lint Remover, 8 Pack |
|
| 6 | PetLovers Extra Sticky Lint Roller Value Set 270 Sheets for Pet Hair Removal and Clothes, Dog and Cat Lint Remover, 3 Pack |
|
| 7 | 1200 Sheets Lint Roller with 6 Upgraded Handles (6 Rollers + 6 Refill), Mage Value Set Sticky Lint Rollers for Pet Hair, Portable Pet Hair Remover for Clothes, Furniture, Carpet, Dog and Cat |
|
| 8 | Mini Reusable Lint Roller 2 Pack, Washable Gel Sticky Lint Roller for Pet Hair, Travel Size Portable Lint Roller with 360° Rotating Handle & Large Hanging Hole, Beige |
|
| 9 | Swihauk 600 Sheets Extra Sticky Lint Rollers for Pet Hair, Easy Spiral Tear Lint Roller for Clothes with Ergonomic Handle, Multipurpose Lint Remover for Furniture, Carpet, Car Seat |
|
| 10 | Evercare All Purpose Pet Hair Lint Roller, 100 Sheets – Reusable Sticky Roller for Pet Hair, Cat & Dog Hair Remover, Lint Remover, Pet Hair Remover for Furniture, Clothing & Cars |
|
To maximize the effectiveness of your DIY lint roller and protect your fabrics, keep these tips in mind:
- Tape Choice Matters: While most adhesive tapes work, painter’s tape or masking tape are often ideal as they provide good stickiness without leaving a gummy residue. If using stronger tapes like duct tape, always perform a spot test on an inconspicuous area first, especially on delicate fabrics, to ensure it doesn’t leave adhesive behind or damage the material.
- Gentle Does It: Apply light to moderate pressure when rolling. Aggressive scrubbing isn’t necessary and could potentially damage certain fabrics.
- Overlap for Efficiency: When wrapping tape around a cylindrical object, a slight overlap between layers ensures consistent sticky coverage and prevents lint from sneaking through gaps.
- Refresh Regularly: For optimal lint removal, replace or re-wrap the tape as soon as it’s visibly covered with lint or loses its tackiness.
Beyond the Roller: Other Quick Lint Removal Hacks
Sometimes, even tape isn’t available, or you’re dealing with a different kind of fabric issue. Here are a couple of additional quick hacks:
- Damp Cloth or Sponge: For light lint, a slightly damp cloth or sponge can be surprisingly effective. Wipe the fabric in one direction to gather the lint.
- Rubber Gloves: Don a pair of rubber gloves (the kind used for washing dishes). Lightly dampen them and rub your hands over the fabric. The friction and static will attract pet hair and lint.
- Fabric Shaver or Pumice Stone: For stubborn pills or fuzz balls (not just loose lint), a dedicated fabric shaver or even a pumice stone can carefully remove them, restoring the smooth appearance of your garments.
No matter the scenario, a lint-free look is always within reach with these simple, homemade solutions. By understanding the principles of adhesion and friction, you can effortlessly keep your fabrics looking sharp and clean, proving that sometimes the best solutions are the ones you create yourself.
Get our weekly buyer guide
Practical specs, not advice. Unsubscribe anytime.
